| Last modified: | July 02, 2025 |
|---|
NoMachine Client v3 Configuration
Note
If you’re using Mac OSX, see NoMachine v5 Configuration.
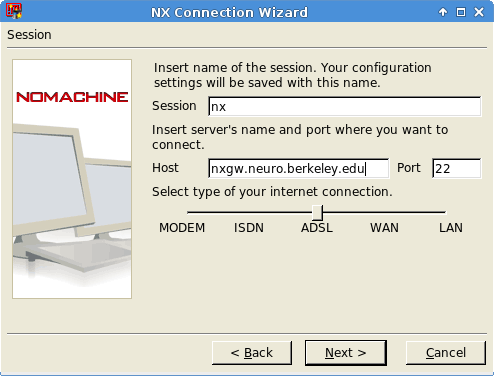
Launch the NX Configuration Wizard
Create a name for the session. Enter the hostname ‘nxgw.neuro.berkeley.edu’, and click ‘Next’:
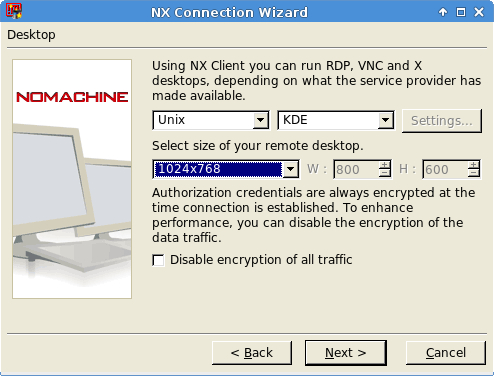
In the ‘Desktop’ section, the default is ‘unix’. Do not change this.
In the ‘Display’ section, use the dropdown menu to select a display size. Choose a fixed resolution, e.g. 1024x768. The default (Available Area) is not recommended, because the mouse may become unusable (a cross-hair) after a session is suspended/resumed.
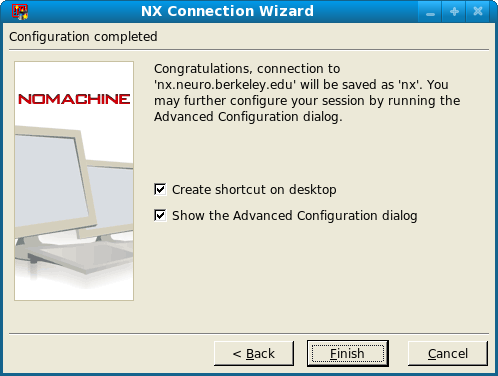
Check the box: ‘Show the Advanced Configuration dialog’, and then click ‘Finish’.
Click the button labelled ‘Key’
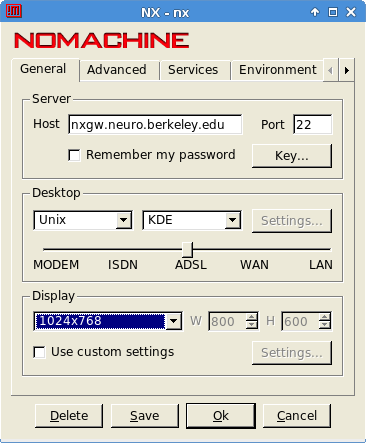
Click the ‘NX private key’ link below. At the login prompt, use the same username/password for login access to the Neuro cluster.
Replace the contents of the ‘DSA key’ window with the key you just downloaded.
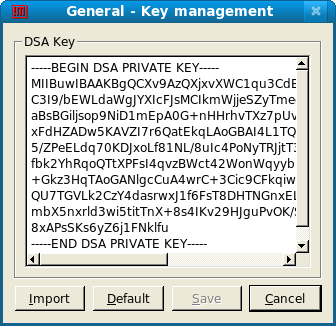
Attention
Verify that the Key includes the first (—–BEGIN DSA PRIVATE KEY—–) and last (—–END DSA PRIVATE KEY—–) lines. The image above does not contain the correct private key for security reasons.
...and click ‘Save’.
- If you’re using Microsoft Windows, then modify the NX screen update settings:
- Select the ‘Advanced’ tab at the top of the screen
- Check the box ‘Disable deferred screen updates’
- Check the box ‘Disable DirectDraw for screen rendering’
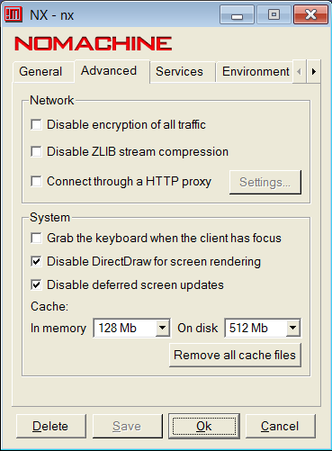
...and click ‘Save’.
See also
On Windows NX clients, the MATLAB window refresh rate may be slow. For more information, see MATLAB Performance.
This Page
Email Support
Supported Labs
- Weiner Lab
- Jagust Lab
- D'Esposito Lab
- Knight Lab
- Walker Lab
- Bunge Lab
- Bishop Lab
- Collins Lab
- Shenhav Lab
Affiliations