| Last modified: | March 19, 2025 |
|---|
2-step authentication
For improved security and data integrity, we use a form of 2-step authentication called time-based one-time password (TOTP)
enable 2-step
If you’re using a wireless network on campus, choose the ‘eduroam’ network. Do not use ‘CalVisitor’, because it blocks ssh traffic (port 22).
Use a secure shell application on your desktop computer to enable 2-step.
If you have a Mac, open a terminal window application and run the following command (replace ‘username’ with your login username):
ssh username@nx4.neuro.berkeley.edu
If you have windows, download a secure shell client from UC Software Central, or from PuTTY. Use the servername ‘nx4.neuro.berkeley.edu’.
If you see a message like...:
The authenticity of host 'nx4.neuro.berkeley.edu (169.229.248.247)' can't be established.
Are you sure you want to continue connecting (yes/no)?
then type ‘yes’ and Enter. You will see the message:
Warning: Permanently added 'nx4.neuro.berkeley.edu' (ECDSA) to the list of known hosts.
After successful authentication, you will be prompted to enable 2-step:
Do you want to create your One-Time Password now? [y/n]
Type ‘y’, and a barcode image will be displayed.
On your smartphone or other mobile device, download an app that provides TOTP (time-based one-time password) functionality. Below are instructions to configure ‘Duo Mobile’ and ‘Google Authenticator’
Install an app for 2-step authentication
I recommend installing ‘Duo Mobile’ or the ‘Google Authenticator’ app on your smartphone for 2-step authentication. Both apps provide TOTP (time-based one-time password) authentication.
If you don’t have a mobile device, see instructions to optional: 2-step web browser plugin
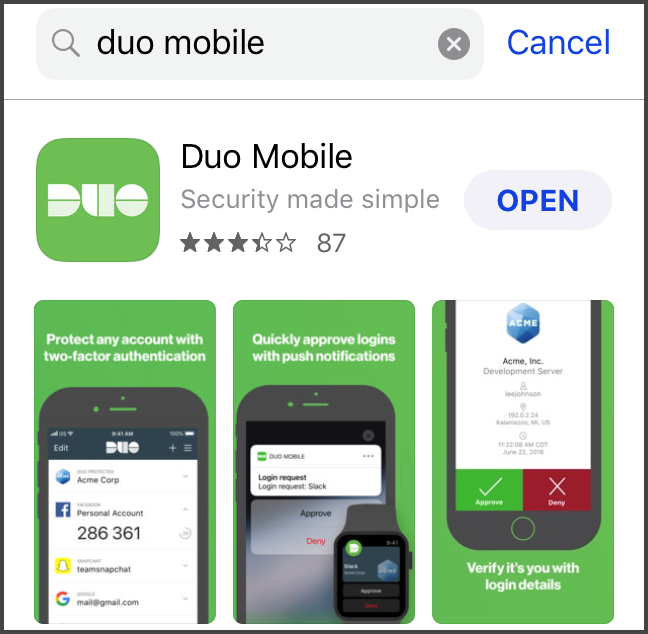
Duo Mobile app
Install the ‘Duo Mobile’ app if you don’t already have it installed for CalNet authentication.
Click Add Account, and click OK to let Duo Mobile access your camera, which will be used for scanning the barcode.
If you already configured an account in Duo Mobile, then press the plus sign next to the word ‘Add’ in the upper right corner of your screen.
Tap ‘Use QR Code’
Point your smartphone’s camera at the QR barcode on your computer screen to scan the barcode. You may need to increase the window size or reduce the font size to get the image to display.
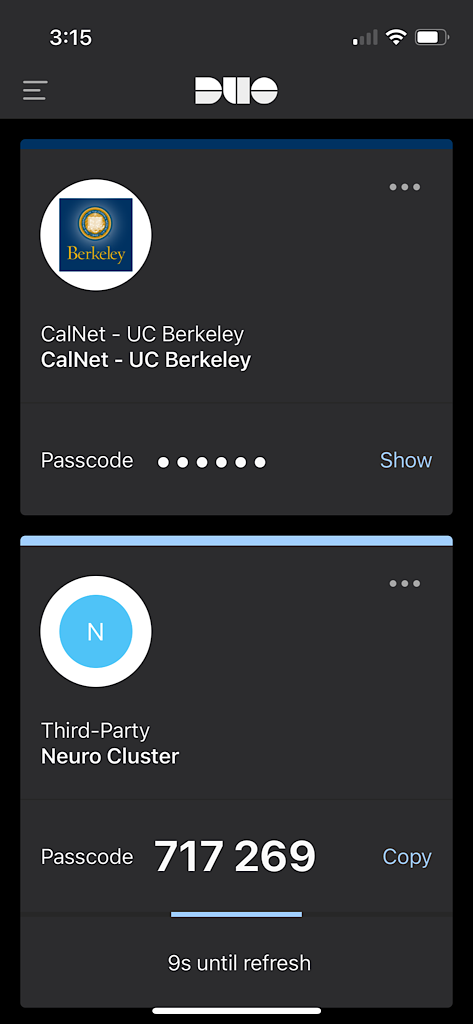
Tap ‘Done’. This will display the new account called ‘Third-Party Neuro Cluster’.
Toward the bottom of the ‘Neuro Cluster’ account, tap the word ‘Show’ to display the 6-digit verification code. The verification code changes every 30 seconds.
Next time you login to the neuro cluster, you will be prompted for your password and a verification code from Duo Mobile.
Back on your the computer screen where you initiated 2-step (with the QR barcode), you may see the message:
Enter code from app (-1 to skip):
This isn’t important, and you can type ‘-1’ and Enter.
A list of emergency scratch codes will be printed. Take a picture of this, or copy/paste it to a file on your desktop computer. This information is useful if you lose access to your mobile device (and your Neuro cluster account).
Google Authenticator app
Google Authenticator is an alternative to Duo Mobile. Similar to Duo Mobile, it generates a TOTP (time-based one-time password) for authentication.
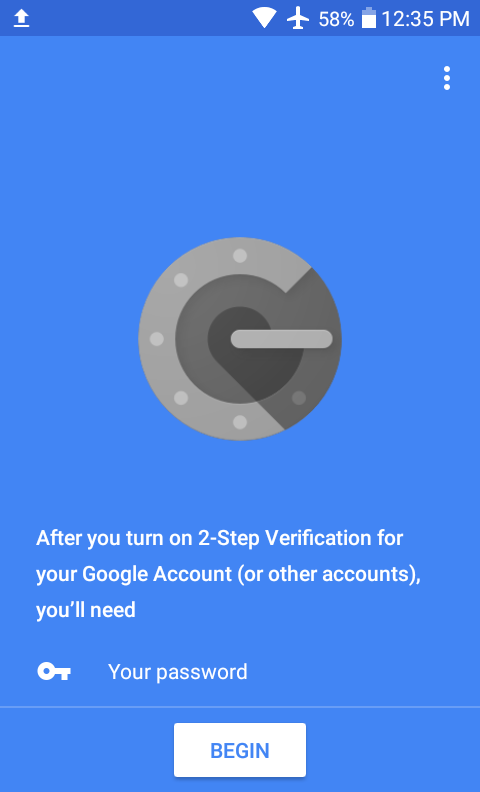
Open the Google Authenticator app, and click ‘BEGIN’
Click ‘Scan a barcode’. Point your smartphone’s camera at the QR barcode on your computer screen to scan the barcode. You may need to increase the window size or reduce the font size to get the image to display.
On your computer screen, you may see the message:
Enter code from app (-1 to skip):
This isn’t important, and you can type ‘-1’ and Enter.
A list of emergency scratch codes will be printed to your computer screen. Take a picture of this, or copy/paste it to a file on your desktop computer. This information is useful if you lose access to your mobile device (and your Neuro cluster account).
On your mobile device, click on the button to ‘ADD ACCOUNT’
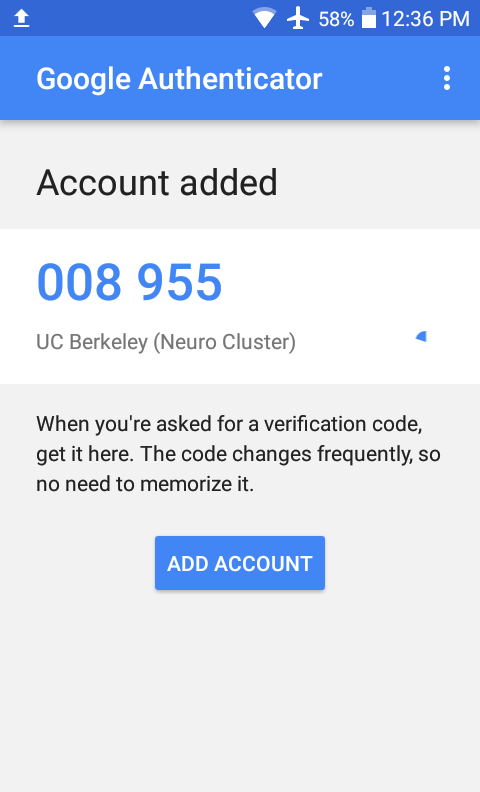
A 6-digit code is displayed that updates every 30 seconds. This is your verification code.
Next time you login, you will be prompted for your password and your google authenticator ‘verification code’.
troubleshooting
verification code not accepted
If you are prompted repeatedly for a your verification code, then:
- you may have typed your password incorrectly. Unfortunately, the server doesn’t report if your password is wrong - it just continues to prompt for your verification code.
- wait for a new verification code to appear in your 2-step app before typing it in.
can I start over?
If you didn’t see the barcode, or you just want to start over, then email me at support-neuro@berkeley.edu.
optional: 2-step web browser plugin
You may install a web browser plugin that supports TOTP (time-based one-time password) authentication. A web browser plugin can be a substitute for your mobile device, or in addition to it.
Below are instructions for Google Chrome:
Choose an authenticator plugin extention that is compatible with Google Authenticator. I recommend https://chrome.google.com/webstore/detail/authenticator/bhghoamapcdpbohphigoooaddinpkbai?hl=en
Select ‘Add to Chrome’
Select ‘Add Extension’
In the upper right corner of your web browser, you will see a small icon for the Authenticator plugin. Click it. A new window will open.
Click on the icon of the pencil, then click the plus sign.
Click ‘Manual Entry’.
In the ‘Account Name’ field, type anything descriptive. I use ‘neuro cluster’.
In the ‘Secret’ field, copy and paste the secret key. The secret key was displayed immediately below the barcode when you enable 2-step. If you no longer have access to that screenshot, then access the file in your Neuro cluster home directory called .google_authenticator. The first line of that file is your secret key. For example, in a terminal window:
cat ~/.google_authenticator
If you have problems logging in with the plugin, make sure your computer uses network time protocol (ntp). The Authenticator plugin relies on accurate time to generate the codes.
optional: SSH key
You may install a SSH key to bypass the Google Authenticator login. It’s useful if you log in frequently from a secure computer. To improve your computer security, enable automatic updates of (security) packages.
MacOSX
In a Mac terminal window, type:
ssh-keygen -t rsa -f ~/.ssh/id_rsa
If you see a message that the id_rsa key already exists, then you can specify a different filename after the ‘-f’ option.
Enter a password when prompted. It can be the same as your login password.
In a Mac terminal window, run the following command to copy your SSH key to the Neuro cluster. Replace ‘<username>’ with your login username:
cat ~/.ssh/id_rsa.pub | ssh <username>@nx4.neuro.berkeley.edu "cat >> ~/.ssh/authorized_keys"
For example,:
cat ~/.ssh/id_rsa.pub | ssh joe@nx4.neuro.berkeley.edu "cat >> ~/.ssh/authorized_keys"
you will be prompted for your login password and verification code.
If you specified a different filename in the first step, then replace ‘~/.ssh/id_rsa.pub’ with the path to your key.
In a Mac terminal window, use the ‘ssh’ command to log into the Neuro cluster. Replace ‘username’ with your login username:
ssh <username>@nx4.neuro.berkeley.edu
For example,:
ssh joe@nx4.neuro.berkeley.edu
You will be prompted for your ssh key passphase. You should NOT be prompted for a 2-step verification code. If you are prompted for a verification code, then the ssh key wasn’t installed correctly.
If you created your ssh key with a different filename, then you may need to use the ‘ssh -i </path/to/key>’ option. For example, if you created your ssh key with filename ‘-f ~/.ssh/id_neurocluster’, then run:
ssh -i ~/.ssh/id_neurocluster <username>@nx4.neuro.berkeley.edu
To configure X2Go to use your SSH key, see X2Go configuration
Windows
If your Windows computer is ‘trusted’ (see above), then I recommend using PuTTY to install a SSH Key. Instructions are here: https://www.ssh.com/ssh/putty/windows/puttygen.
The login server name is ‘nx4.neuro.berkeley.edu’.
If the SSH Key was installed correctly, then you will not be prompted for a verification code the next time you log in via secure shell.
To configure X2Go to use your SSH key, see X2Go configuration
Table Of Contents
Previous topic
Next topic
This Page
Email Support
Supported Labs
- Weiner Lab
- Jagust Lab
- D'Esposito Lab
- Knight Lab
- Walker Lab
- Bunge Lab
- Bishop Lab
- Collins Lab
- Shenhav Lab
Affiliations